ZenDonr: Connect JustGiving Setup
It’s great that you’ve decided on our solution.
Here are the next steps:
- Please use the following link to sign up for the product and create a direct debit mandate for setup and transaction fees: Sign Up for a Zentso account
- To install ZenDonr Connect on your sandbox we will need your Salesforce sandbox’s access credentials (username/password).
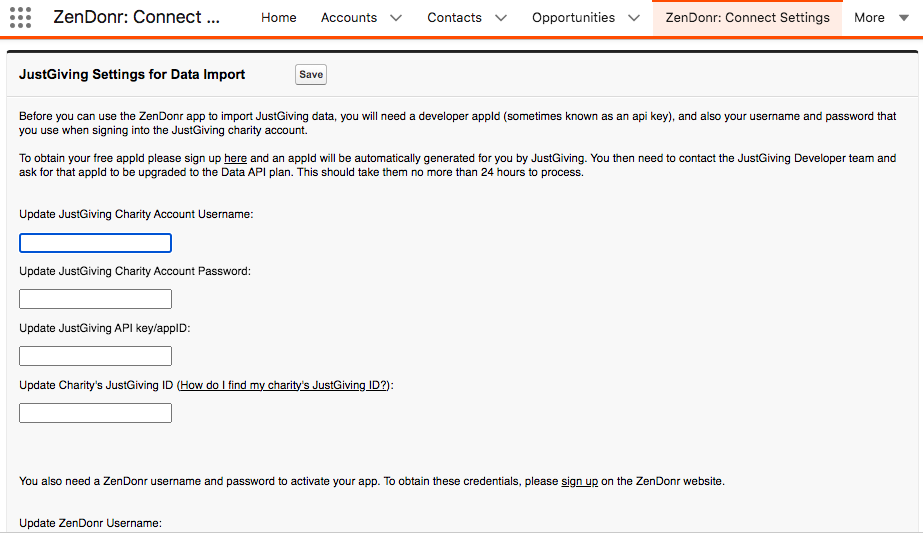
- Before you can use the ZenDonr app to import JustGiving data, you will need the following:
-
To obtain your free appId please sign up at JustGiving developer site and an appId will be automatically generated for you by JustGiving. You then need to contact the JustGiving Developer team (developer@justgiving.com) and ask for that appId to be upgraded to the Data API plan. This should take them no more than 24 hours to process.
-
You can find your JustGiving charity ID as described in the following link: Find your JustGiving charity ID
-
After the above steps are completed, you can either provide the above data to Zentso team so that we can install, configure and test the solution or just enter this data yourself in the ZenDonr: Connect Settings page once we’ve installed the solution package.
Once the ZenDonr: Connect app is installed, it will periodically import your payment and donation related data from JustGiving into Salesforce.
If you need to import JustGiving data for a specific calendar period you can follow the steps here: Import JustGiving data for a specific period