Import JustGiving payment data for a specific period
To get to the configuration settings for the ZenDonr: Connect for JustGiving app and set a specific period for data import, follow these steps.
Step 1
Click on the Setup link or icon in the top right hand corner of your page.

Step 2
Search for Custom Metadata Types in the Quick Find search box.

Step 3
In the list of custom metadata type objects, find the one called JustGiving API Config and click on Manage Records.

Step 4
From the list of JustGiving API Config records, select JustGiving API Endpoints.
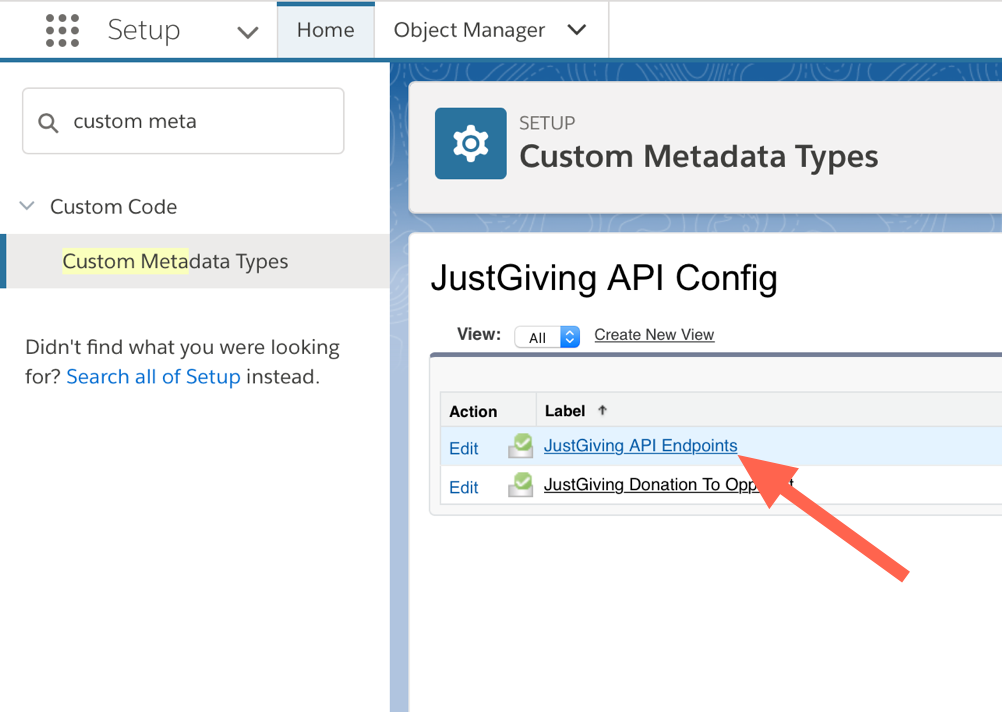
Step 5
You should now see the JustGiving API Config Detail page with all the configuration properties listed.

Step 6
Click on the Edit button, and in the Period field set the date range you wish to import data for and Save. Make sure that the period value is entered in the correct format and limit the period range to a maximum of three months. You can click on the help icon next to Period to see an example for the date range format.
Now go to the ZenDonr: Connect Justgiving app and click on the ZenDonr Connect Admin tab (you might have to click on the More tab to view it).

On the ZenDonr Connect Admin Actions page, click on the Import button for the section Import data for Justgiving Now to start the import job for the period you defined in the configuration.
The import job runs in the background. You can check the JustGiving Payments tab to see the new payments imported.
Once the new payments are imported, please go back to the configuration settings and clear the period field value and Save. This allows the scheduled job to pick up the last week's payments in the next scheduled run instead of looking for data in the defined period.